How to Draw a Peach Step by Step TUTORIAL
This easy tutorial shows how to draw a peach step by step. It tin be good for beginners or anyone looking to practise uncomplicated line cartoon.
This tutorial will focus on creating a form that is characteristic of a peach equally well equally making a dainty and clean line drawing.
It's recommended that you practise the tutorial in pencil and make very low-cal lines until yous are most finished.
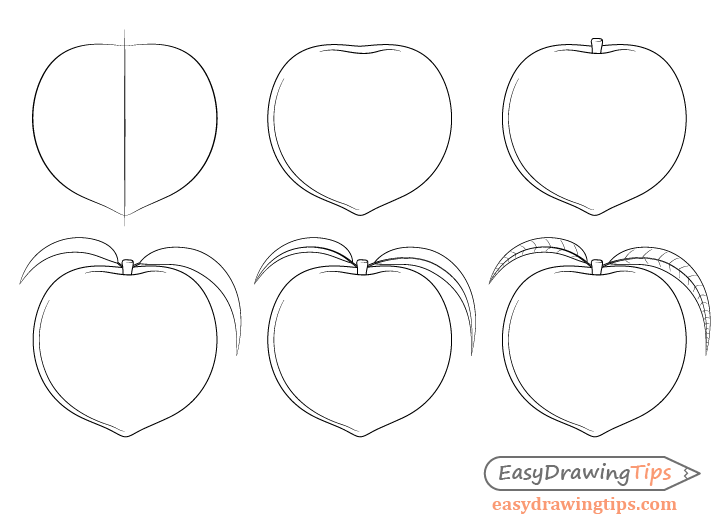
Footstep 1 – Draw the Outline Shape of the Peach
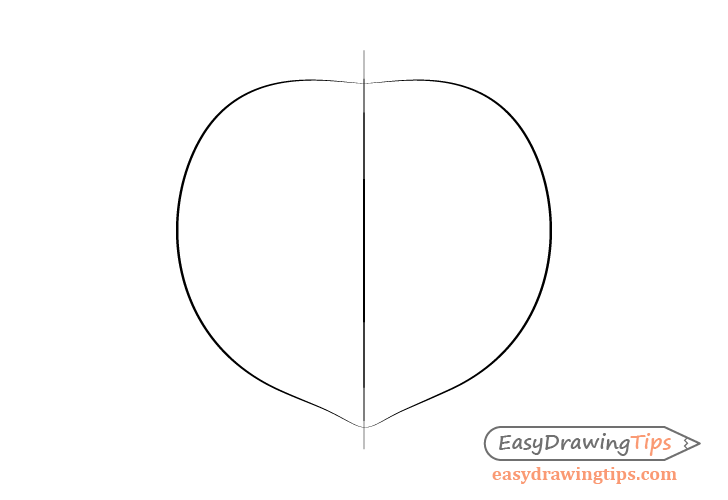
Kickoff by drawing the outer shape of the peach. In this case it will be fairly symmetrical on both sides. To help you run into if both halves are relatively equal in width start by making a straight horizontal line through the middle of your drawing area.
You can describe the peach itself one half at a time. Make its combined outer shape with a bit of an indent at the top and with a slightly pointy tip at the bottom. Somewhat like a heart.
For some more tips on good drawing practices likewise come across:
Beginner Guide to Learning to Draw
Step 2 – Describe the Split
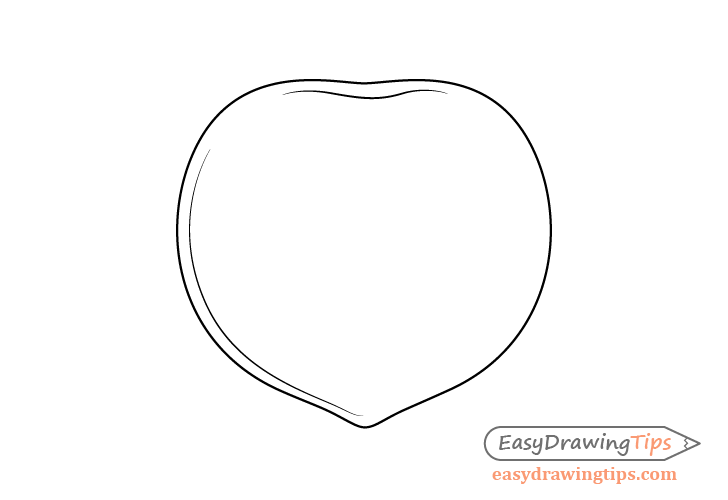
Now add a hint of the split that is very characteristic to a peach as well as indent merely below the top for the stem. Depict the divide pretty much tracing the outer shape of i side of the peach a short distance away from it. For the indent at the peak draw information technology like a moving ridge.
Pace 3 – Draw the Stem
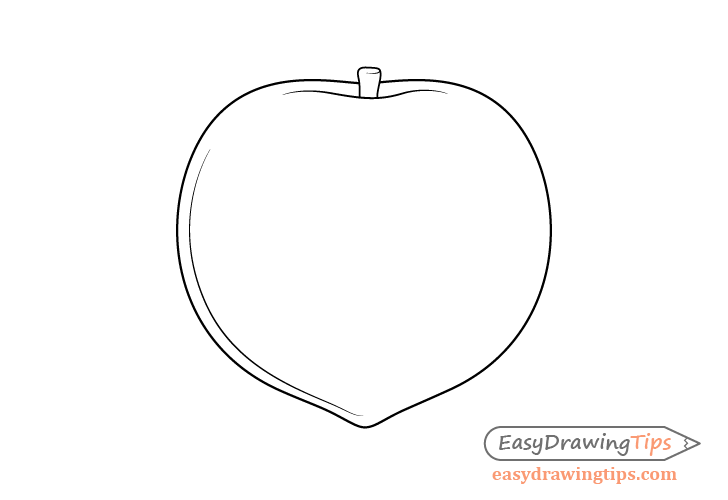
Add the stalk to the top of the peach coming from the indent drawn in the previous step. Erase the office of the drawing where the stem overlaps the outer shape of the peach.
Peaches have fairly curt stems then draw appropriately also make the stem narrower at the lesser and slightly wider at the top.
Once done with this step you should take a pretty much finished line cartoon of the peach. You tin can exit it at this stage or move on to the next step to add some leave.
Step 4 – Draw the Outer Shapes of the Leaves
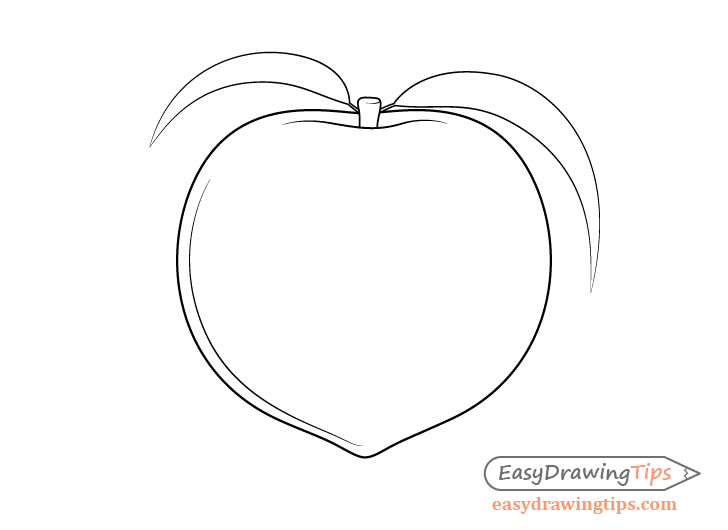
To make the peach look more interesting y'all can add together a pair of leaves. Draw one leaf larger and one smaller for them to expect more than natural. Overall peaches accept fairly long and narrow leaves and as these are drawn at an angle they will appear even narrower.
Step 5 – Draw the Midribs on the Leaves
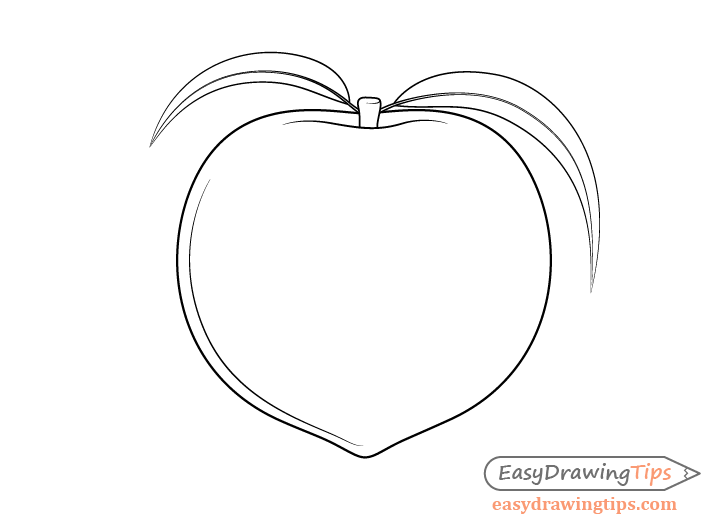
Though the center of the leaves draw the midribs. Position them so that they are a fiddling closer to their bottoms. The reason for this is that the leaves are slightly folded and the angle of the bottom part will make it appear narrower.
Step 6 – Describe the Veins on the Leaves
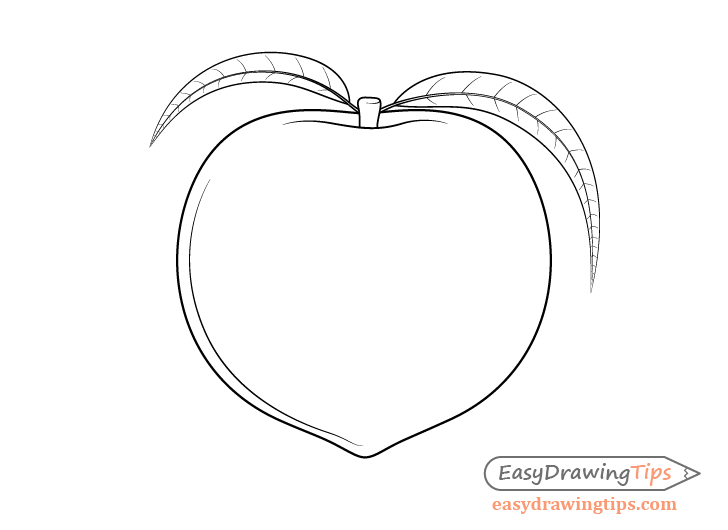
To finish the drawing add the veins to the leaves. The veins on each side of a leaf volition tend to have a respective veins on the other side but you should also draw a few of them out of alignment.
After y'all've finished drawing the veins check to brand certain that everything is in the right identify. If you are satisfied with your cartoon and have been making light pencil lines as was recommended in the beginning of the tutorial you lot can at present go over them with darker strokes.
Conclusion
This is a pretty simple tutorial just it can be proficient line cartoon practice for beginners. For more than similar tutorials too see:
- How to Draw Grapes Step by Step Tutorial
- How to Draw an Onion Step by Step Tutorial
- How to Draw Broccoli Footstep by Step
For full general beginner drawing tips check:
- Beginner Guide to Learning to Draw
- Accented Beginner Drawing Exercises Tutorial
DOWNLOAD HERE
How to Draw a Peach Step by Step TUTORIAL
Posted by: nicholasligand.blogspot.com

Comments
Post a Comment